93 Photo Street
Step By Step Photo Mapping: Basics
- By Trevor F. SmithStep 5: Build the web site
Open the Build Site window
I open the "Build Site" window by choosing the "Build->Build with velocity templates..." menu item:
NOTE: New in 93 Photo Street V1.2, you can also build and publish your photo map to a weblog using the Atomic Map Publisher (available from the "Build->Post to a blog" menu item).
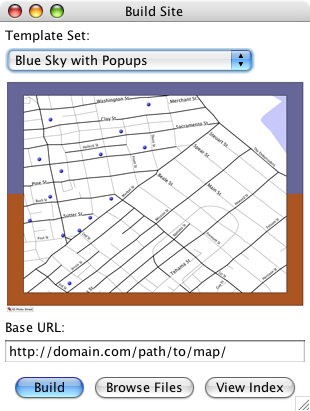
Choose a template
After looking at a few of the template preview images, I think that my photo map would look good with a big map and popup slideshows of each location, so I choose "Blue Sky with Popups" from the "Template Set" dropdown menu.
Ignore the base URL
There are more details about when you need to use the base url in the 93 Photo Street FAQ, but I know that I don't need it for this template set so I leave it set with its default value.
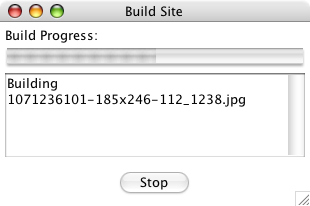
Build the web site
Now that I have a template set, I click the "Build" button and watch the progress bar fill as 93 Photo Street automatically generates the HTML and images files which make up my new web photo map:
Browse the web site
Once the site has been completely built, I click the "Browse" button to open the folder containing my new web site. Most template sets create an "index.html" file as the main page of the site, so I double click that file and look at my new site in my web browser:
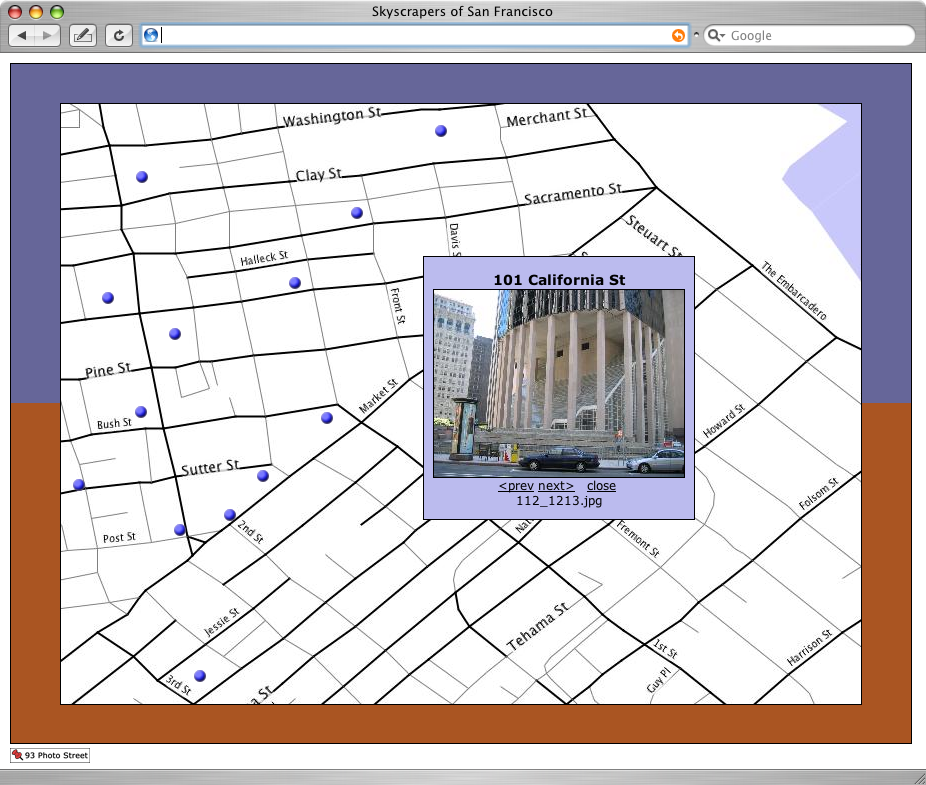 Click for larger version.
Note: At this point, my new site is not published on the Internet. 93 Photo Street has created all of the files and images which make up a web photo map and placed them on my hard drive.
Now that I have the web site built, I can move on to the next step:
Step 6: Publish the photo map >>