93 Photo Street
Step By Step Photo Mapping: Basics
- By Trevor F. SmithStep 4: Import images
Import images onto the sorting tray
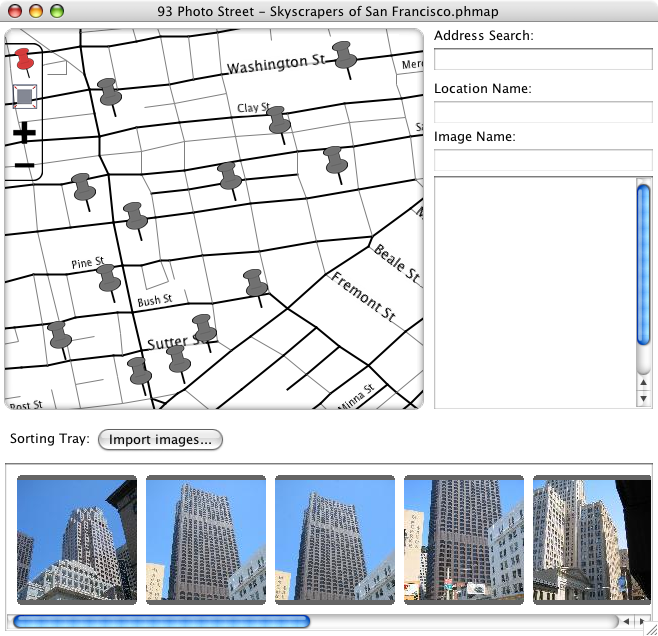
Now that I have locations, I need pictures. Because the sorting tray is hidden, I select the "View->View Sorting Tray" menu item. I select all of the image files from their directory folder and drag them onto the sorting tray, which is now visible at bottom of the 93 Photo Street window. With large images it can take a little time to import, since they're being automatically resized:

Adding images to locations
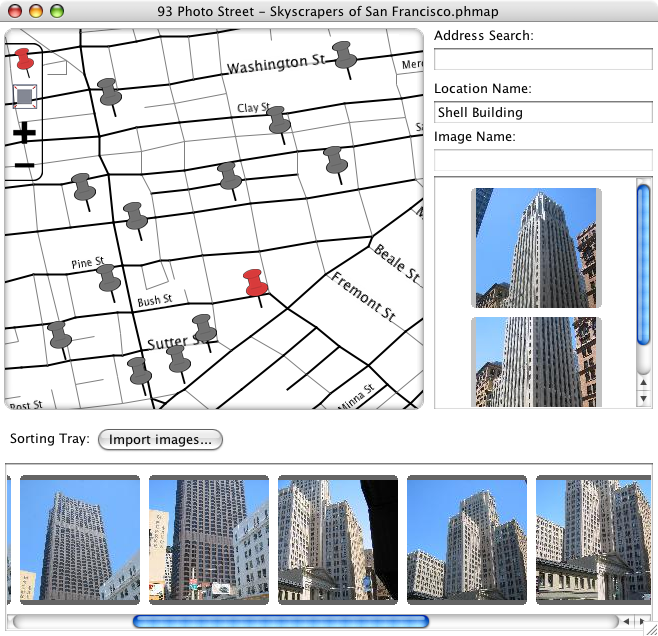
Now that my images are imported, I click on a location pin and then drag all of the images taken there from the sorting tray onto the "Location Info" tray on the right:

I like to make the first image the best image, so I drag around the images in the location tray until I like their order.
Name the images
By default, the images on the map will be given the same name as the image file. For a few of the images, I select them in the location info tray and then enter a new name in the "Image name" field.
Rinse and repeat
For the rest of the images in the sorting tray, I repeat the technique of selecting a location pin, dragging images into the location info tray, and then ordering and naming the images.
Now that I have all of my images in their locations, I move on to the next step:
Step 5: Build the web site >>