93 Photo Street
Step By Step Photo Mapping: Basics
- By Trevor F. SmithStep 3: Drag location pins onto the map
Find an intersection
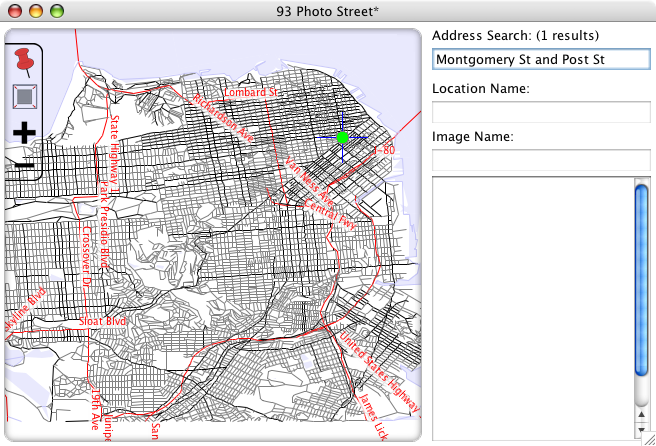
So now I'm looking at a map of San Francisco and I want to identify the locations where I took pictures. Looking at my trusty written list of times and locations (which I made during the photo mapping trip), I notice that the first location is at the intersection of Montgomery Street and Post Street.
I type "Montgomery St and Post St" into the "Address Search" field of 93 Photo Street and as soon as I type the last "t" I notice that there was one search result and there is now a cross-hairs icon on the map:
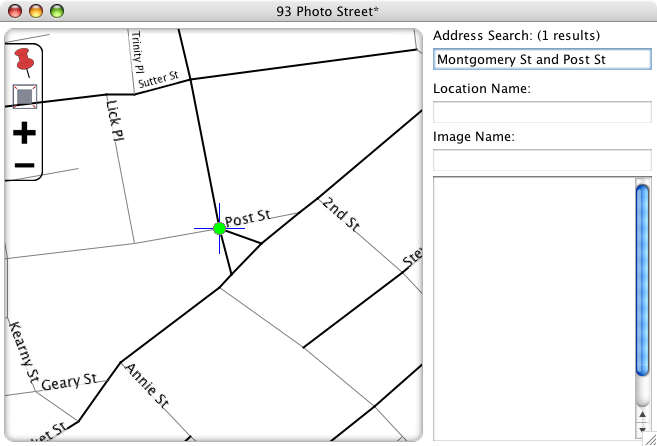
Pan and zoom
I then click and drag the map until the cross hairs are in the center of the map. I then click the "+" button in the upper left hand corner of the map and the map view zooms in closer. I do this a couple of times until I see a detailed view of the intersection of Montgomery and Post Streets:
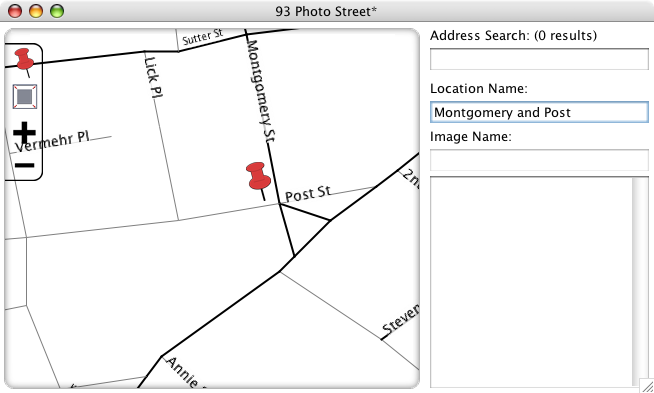
Place a location pin
Now that I can see where on the map I want to place a location, I drag a stickpin from the toolbar in the upper left corner of the map and move it until the point of the pin is at the intersection of Montgomery and Post Streets. I then name the location in the "Location Name" field:
Repeat for the rest of the locations
Using the same technique of search, pan, and zoom, I place and name the rest of the locations on the map:
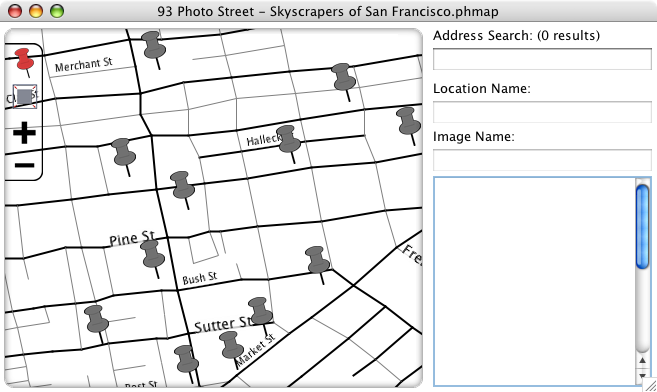
Save the photo map file
Now I save my work so far in a file by selecting the File->Save menu item and naming my map "Skyscrapers of San Francisco.phmap". With my locations placed and my map file saved, I move on to the next step.
Step 4: Import images >>